Sender domains and delivery routes
Sender setup decides who email appears to come from and how messages are delivered. Configure it before inviting real users.
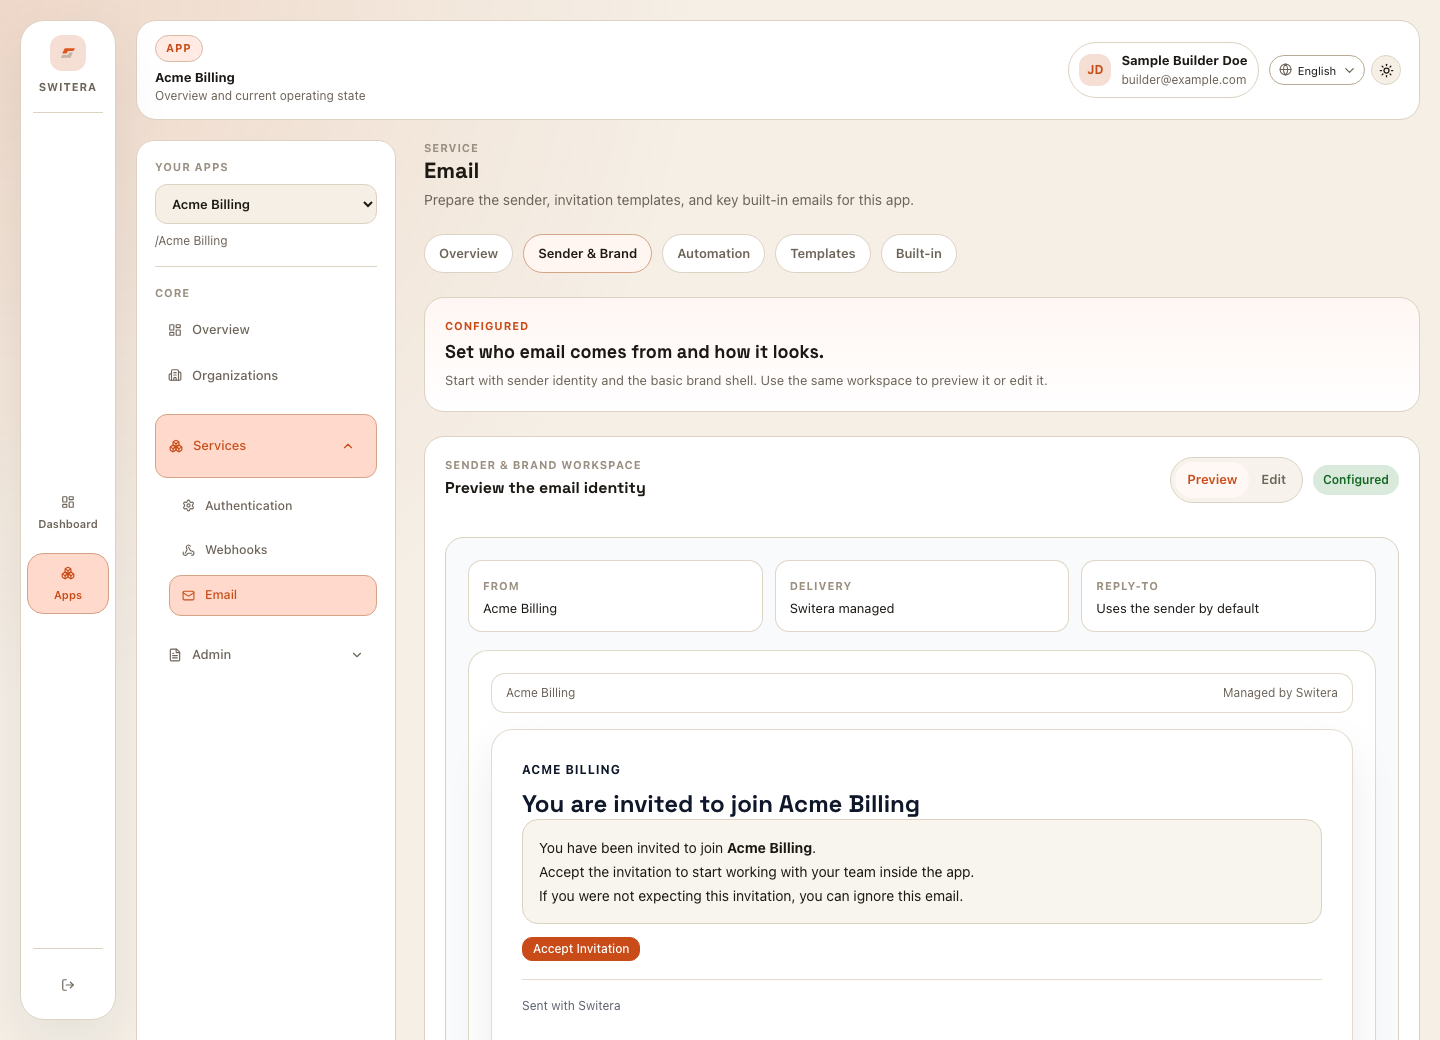
Sender profile
A sender profile should answer:
- who is the message from?
- what address receives replies?
- does the sender name match the product?
- does the template preview look trustworthy?
- is the route safe for test or real users?
Recommended first values:
- sender name: your app or company name
- from email: a verified sender address
- reply-to email: a monitored mailbox
- footer text: short and product-specific
Domain verification
If the app sends from your own domain, verify the domain before launch.
- Add the sender domain.
- Copy the DNS records shown in the product.
- Add the records in your DNS provider.
- Wait for DNS propagation.
- Return to Switera and verify the domain.
- Send a test email.
Do not send production traffic from an unverified or poorly configured domain.
Delivery routes
Routes decide which provider or delivery path sends a message. Keep routes simple at first.
Use separate routes when:
- test and production traffic must be separated
- a customer requires a dedicated delivery path
- high-volume transactional mail needs a different provider
- a provider is being migrated
Route test
Before launch, send a test to a monitored mailbox and check:
- from name
- from address
- reply-to address
- subject
- body copy
- links
- spam placement
- tracking behavior if enabled
Common mistakes
- Using a no-reply address when replies need support.
- Testing only with internal inboxes.
- Forgetting to verify DNS before inviting users.
- Copying DNS records with extra spaces or missing quotes.
- Sending production messages through a test route.
Related pages: